Recently, I decided to explore and push the capabilities of my DSLR by controlling it through more flexible and customizable ways instead of the closed and limited stock firmware. Unfortunately, camera “hacks” and patches can only get you so far. Gladly, cameras with boring firmware can still be controlled by a more powerful and flexible machine: a personal computer. The act of connecting a camera to a computer with the purpose of acquiring images is called tethered shooting.
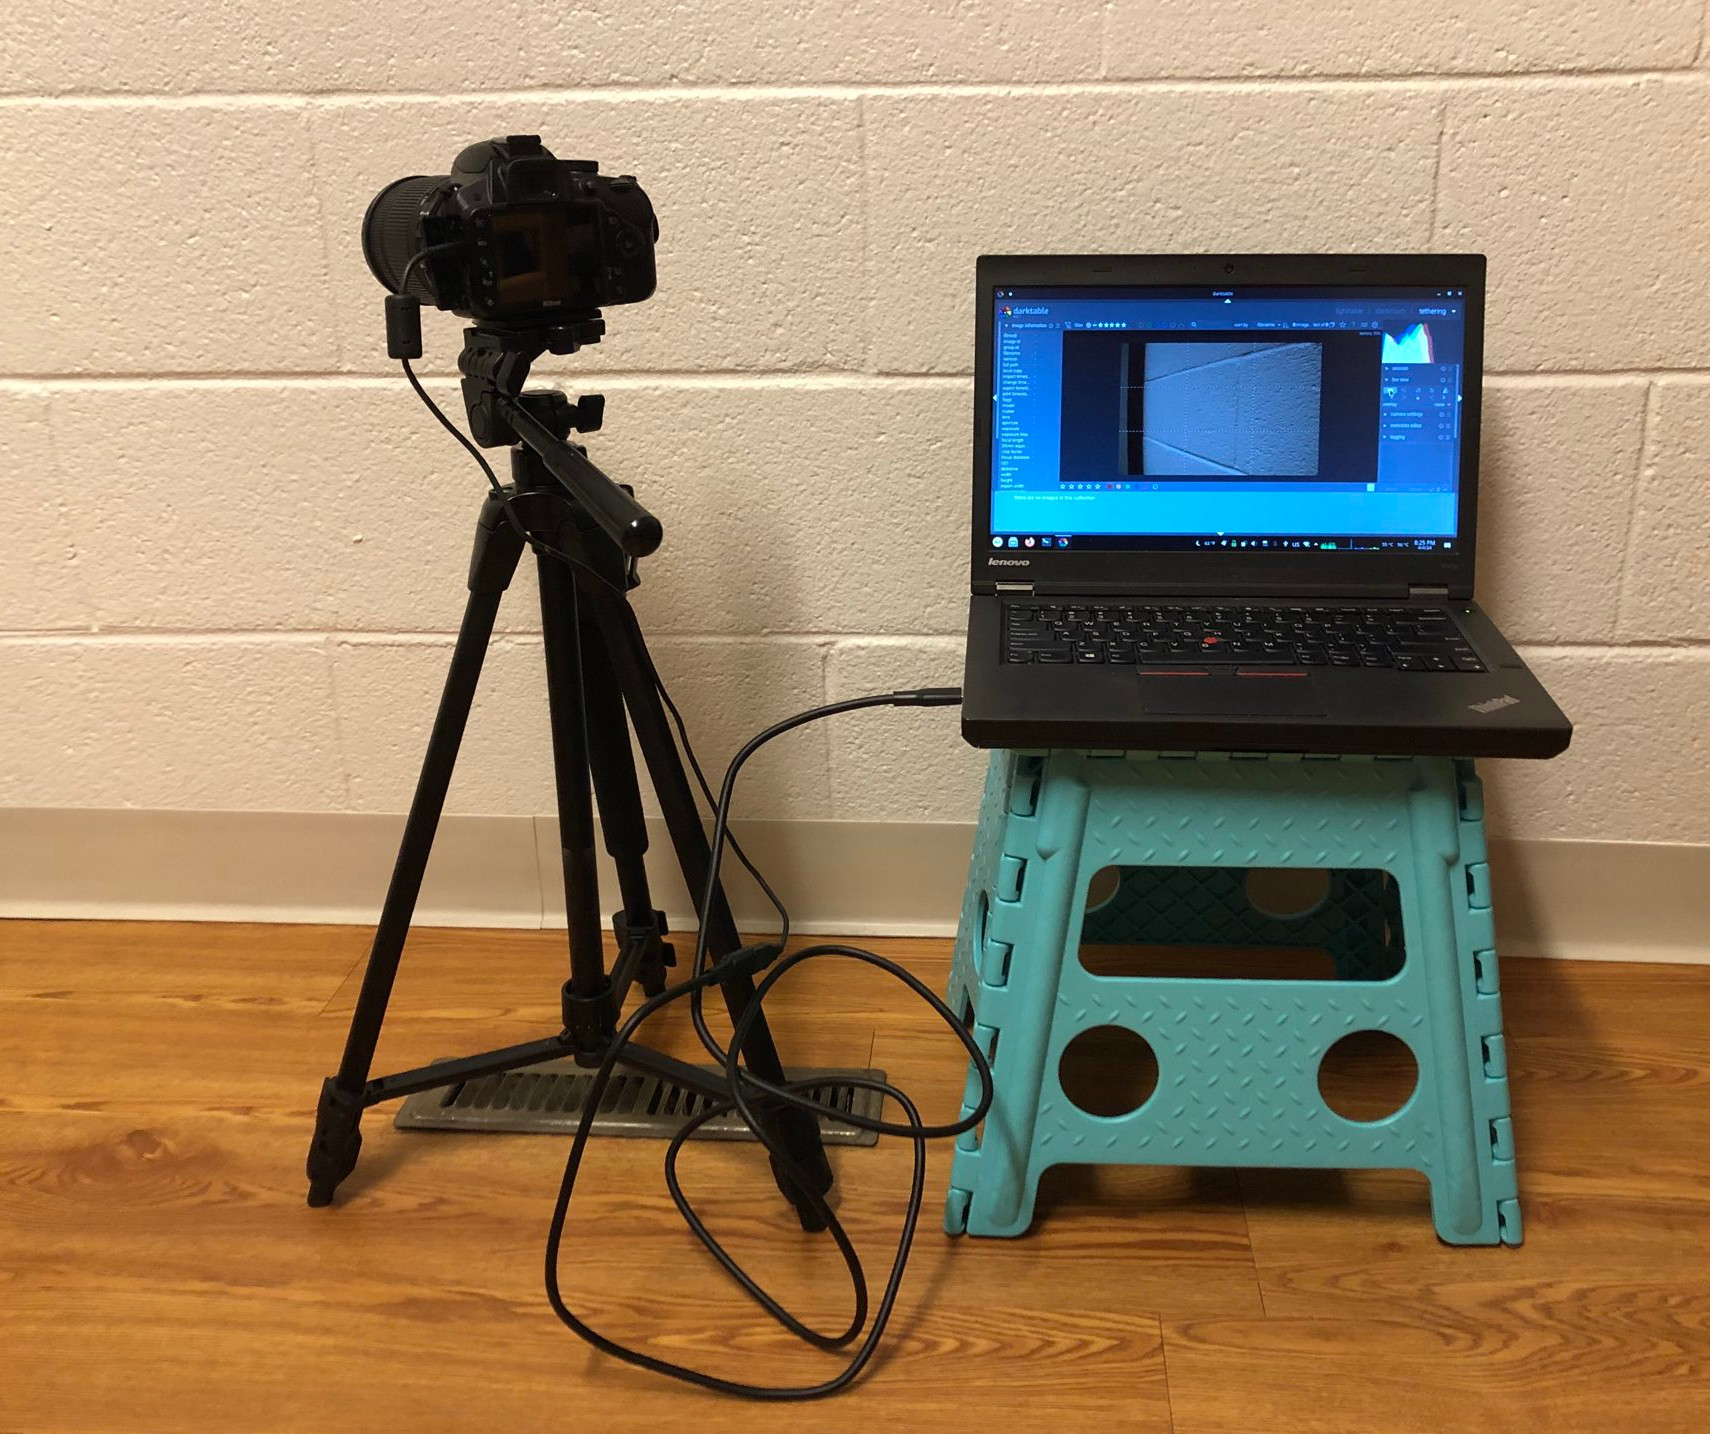 Laptop and tethered camera, allowing you to control a fully-capable camera through your computer.
Other tutorials cover the main idea of using Linux to control a camera, like Ben Chapman’s instructions on how to use your DSLR as a webcam in Linux. Tethered shooting is indeed a nice tool for several applications, like using your nice camera as a webcam for professional meetings (as just mentioned), or taking advantage of a bigger screen for fine focus adjustments in macro or astrophotography. It also allows you to preview histograms on the go and script certain tasks like interval shooting or HDR bracketing, as well as save files directly to your computer’s disk.
There are two main ways to use your computer for tethered shooting: USB and HDMI. Both come with their advantages and disadvantages. To understand which will be better for the task you have in mind, we can look more into what they are and the applications where each one excels over the other.
USB tethering
USB tethering consists of using your camera’s USB cable to communicate to your computer while shooting. Due to its flexibility and ability to effectively communicate in both ways, it is a useful way to send individual commands to the camera and scripting more complex tasks. It is meant for people who want to control shooting settings and/or automatically download photos as they are shot, for easier editing or storage reasons. The two most popular programs out there that are used for USB tethered shooting are Darktable and Entangle, both of which will be discussed below.
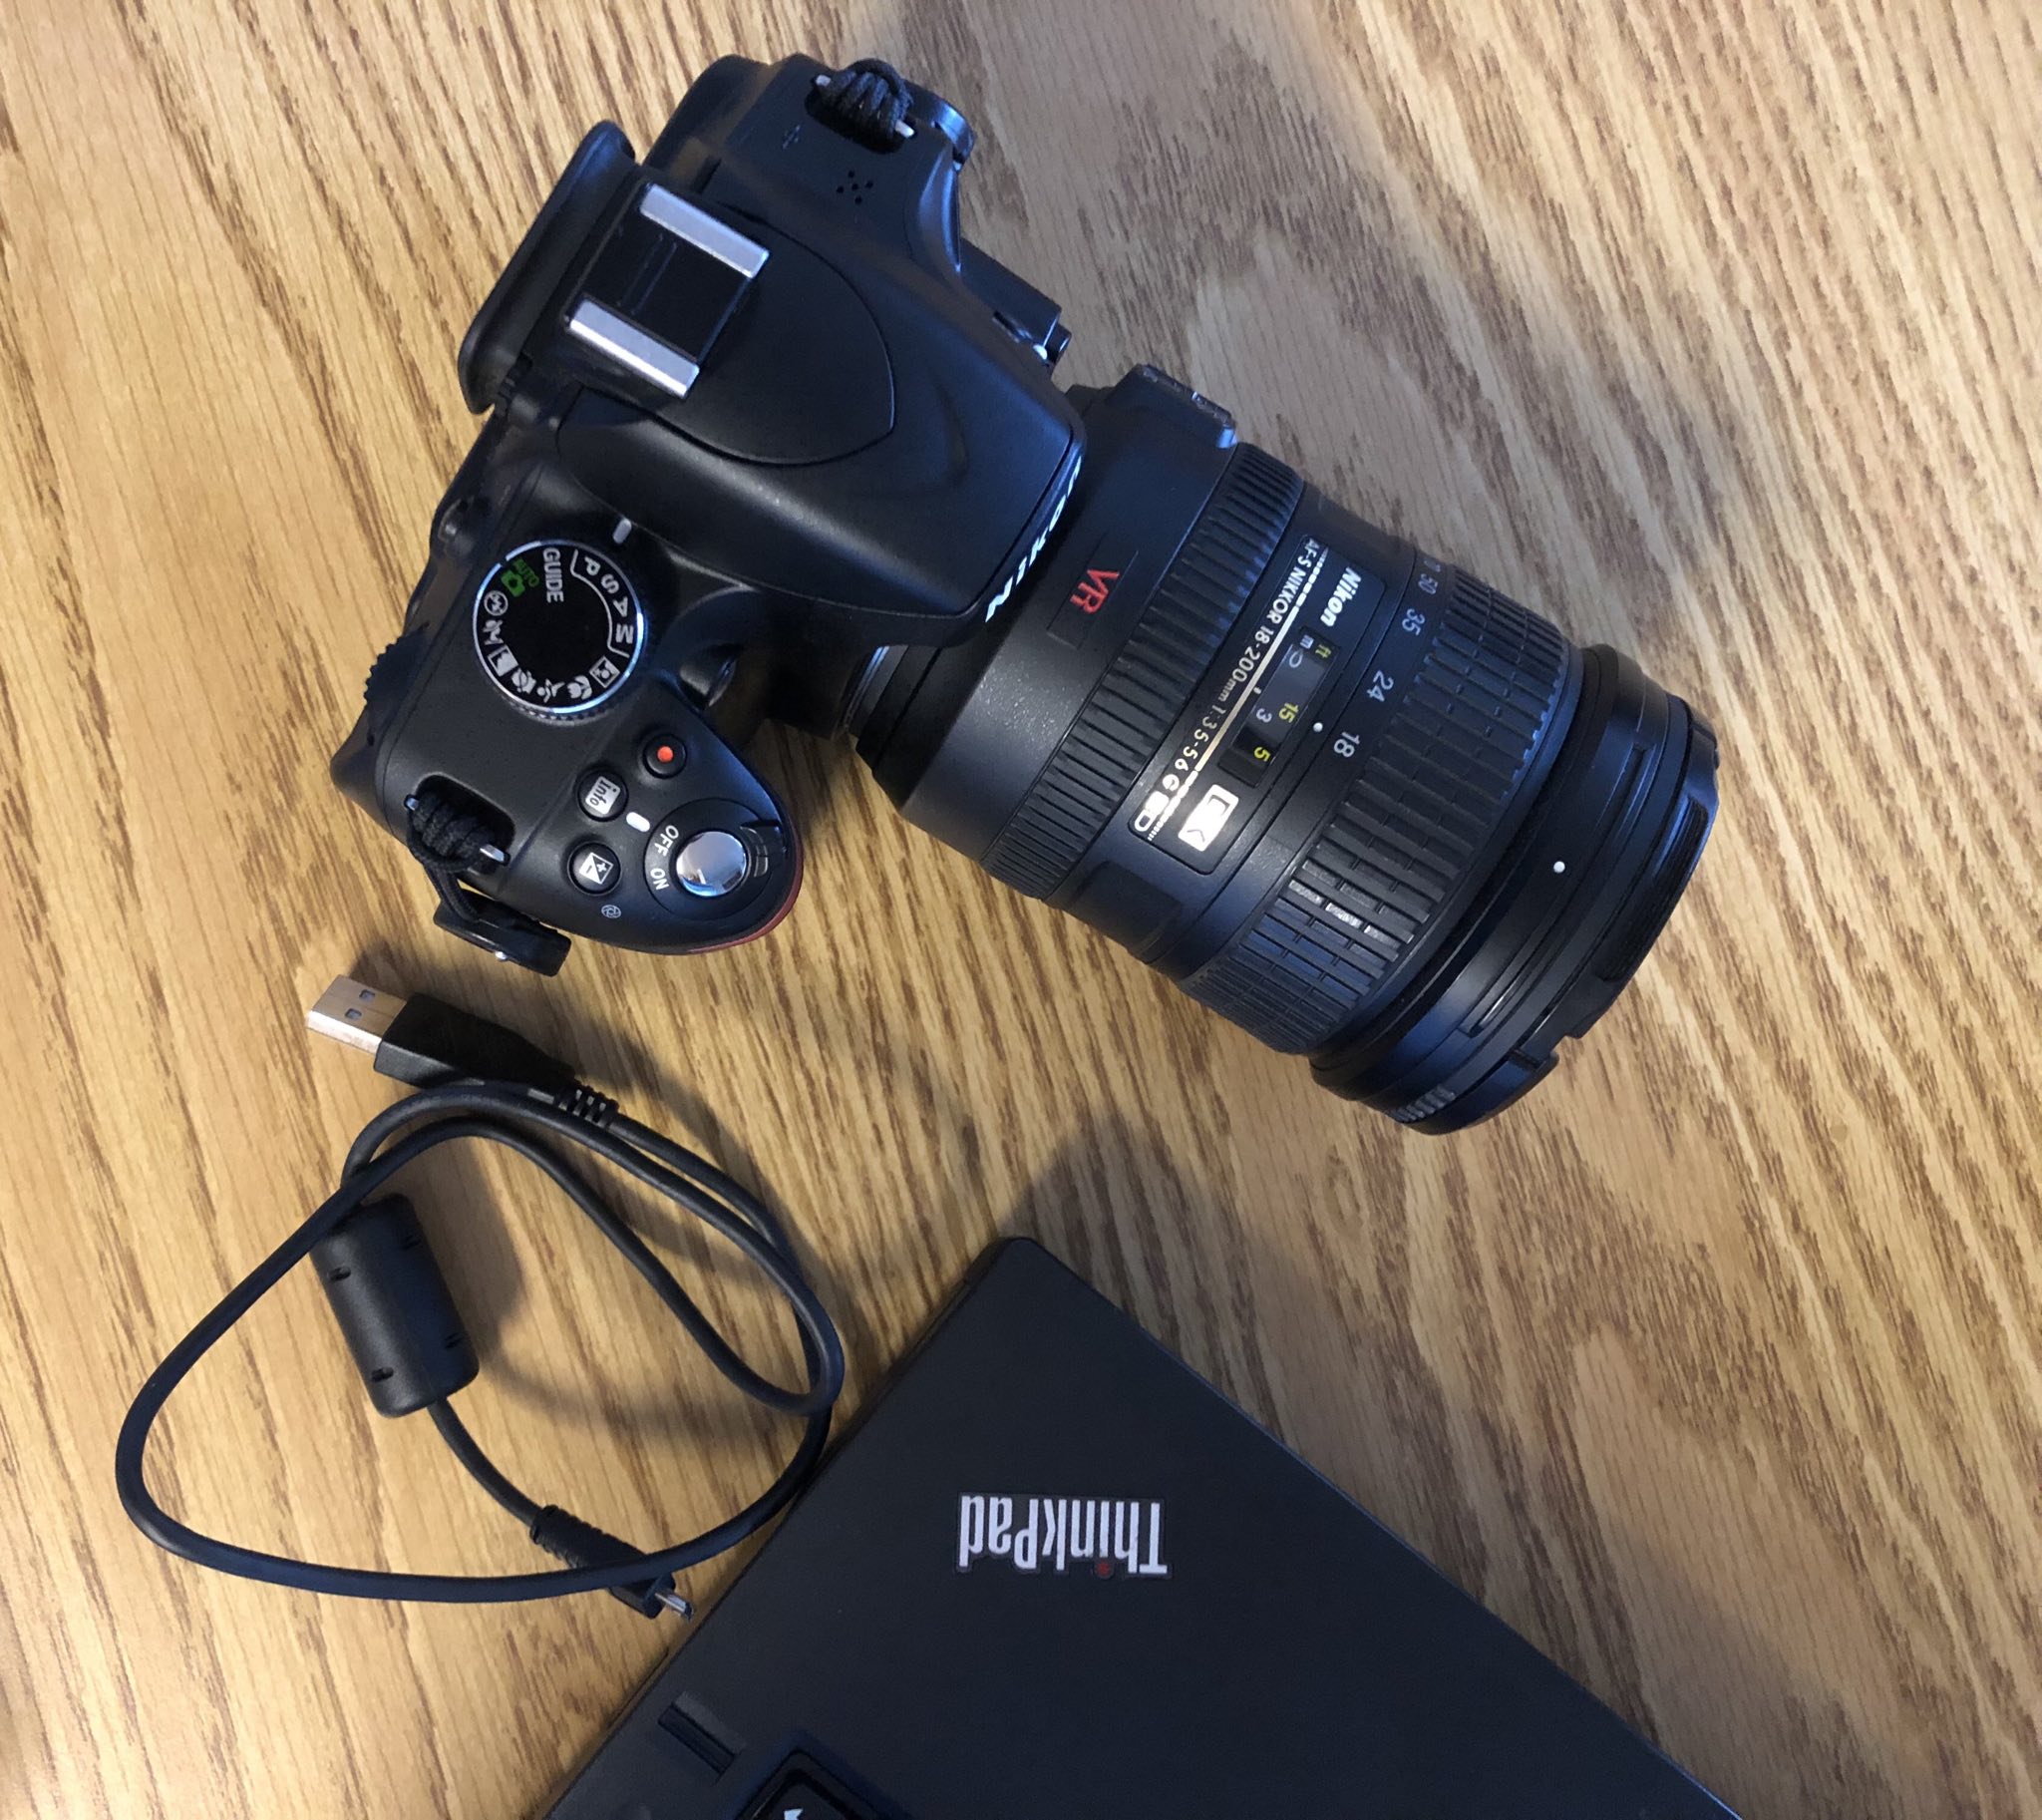 Camera, USB cable, and a computer: all you need to get started.
Darktable
Darktable is a “photography workflow application and raw developer”. It can manipulate raw image files in every way imaginable. It is my go-to program to edit my photos; adjust white balance, rotate and crop, export raw files to jpg, etc. On top of that, Darktable is also capable of controlling a camera that is connected to a computer through USB using libgphoto2.
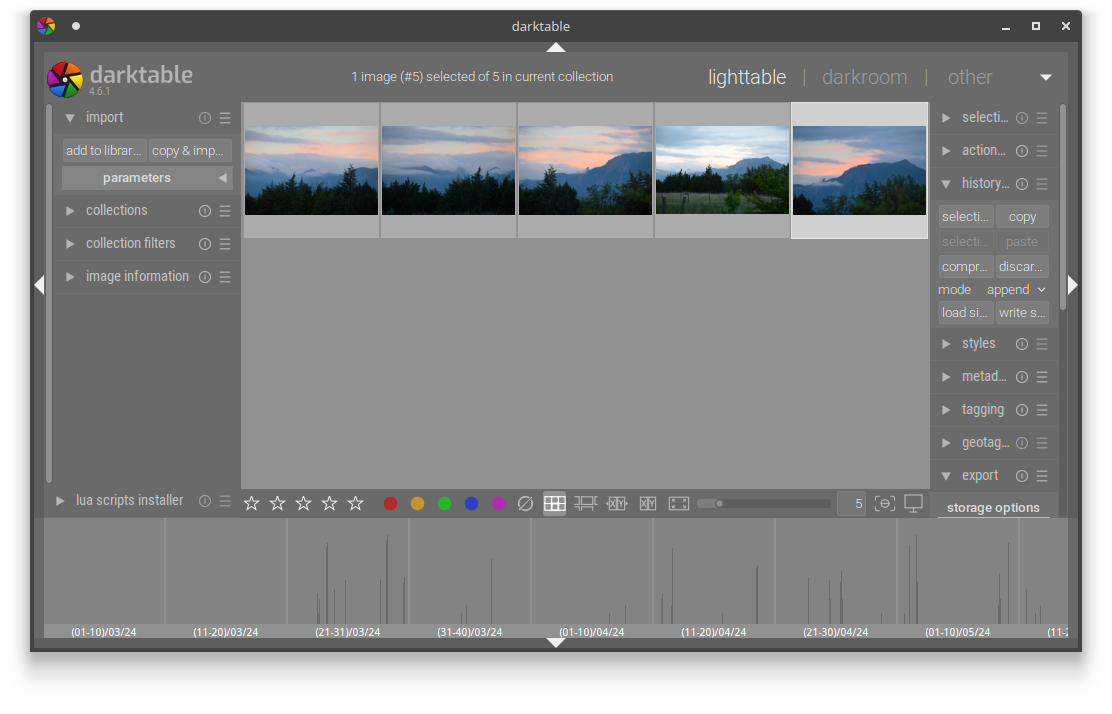 Darktable. Probably the best photography workflow software ever made.
After connecting your camera to your computer, you can launch Darktable and your camera will likely appear under the import sub-menu of the lighttable tab. You can then on click mount camera and tethered shoot. Just start a new session/capture job and you will see a list of “image information” on the left and camera properties on the right. You can then click on the live view icon (an eye) to enable previewing what is detected by your camera’s sensor in real time. Everything is straightforward from there.
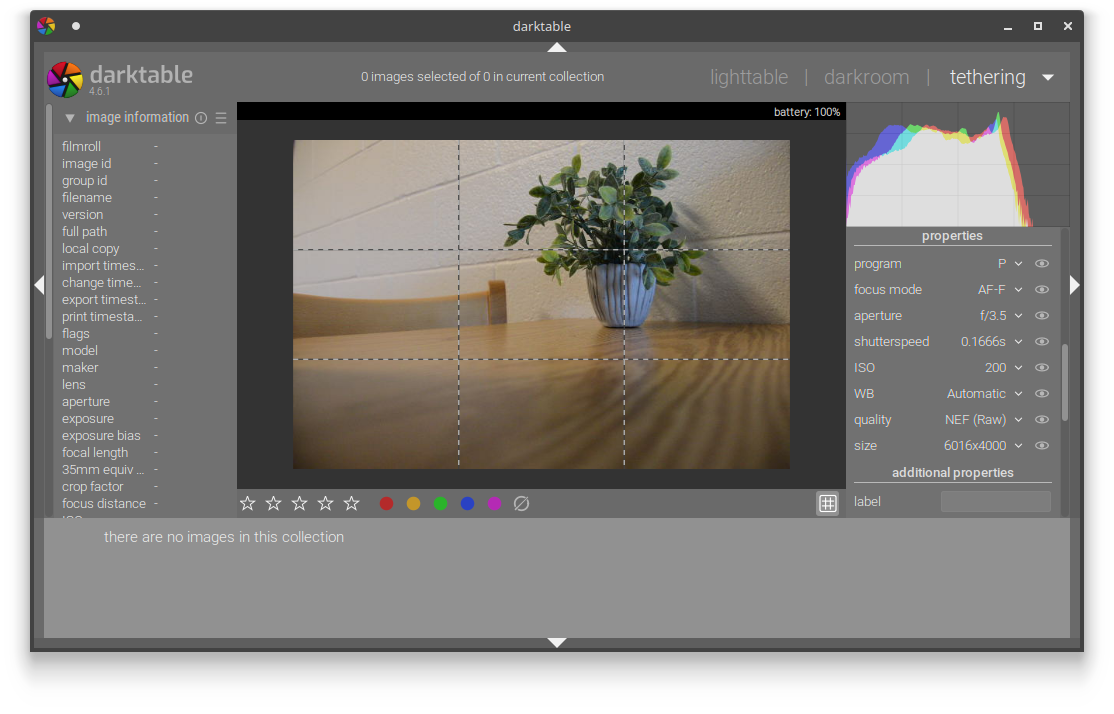 Seeing through live view on Darktable. Note how all the capture parameters of the exposure triangle are accessible for controlling, as well as a live histogram.
You can change settings such as the aperture, shutter speed, ISO, etc and activate the shutter whenever you want. The files will be saved on your computer on a folder according to your settings (likely /home/user/Pictures/Darktable/yyyymmdd_capturejob).
Summarizing, click on:
- lighttable tab (top right);
- mount camera (left panel);
- tethered shoot (left panel);
- create a new capture job (right panel).
To start shooting, click on the enable live view icon (small eye, right panel) and start shooting.
Nice feature: HDR bracketing
As mentioned before, Darktable can automatically shoot and download files to your computer while controlling some camera parameters, including exposure compensation. One of my favorite out-of-the-box features it ships with is the HDR bracketing support. You can use the feature to automatically take HDR photos and apply your presets to files, which might save some time if your camera doesn’t support auto-HDR and you need to take a lot of pictures (for a time lapse, for example).
Entangle
Entangle is a GTK3 graphical interface for tethered shooting using libgphoto2. It is a simple, minimalist, and great software where you can control just enough without too much bloatware and overly complicated features. Albeit simple, Entangle is fully-featured: you can control exposure time, aperture diameter, ISO, activate your shutter (obviously), write custom scripts to shoot while controlling all those parameters, etc.
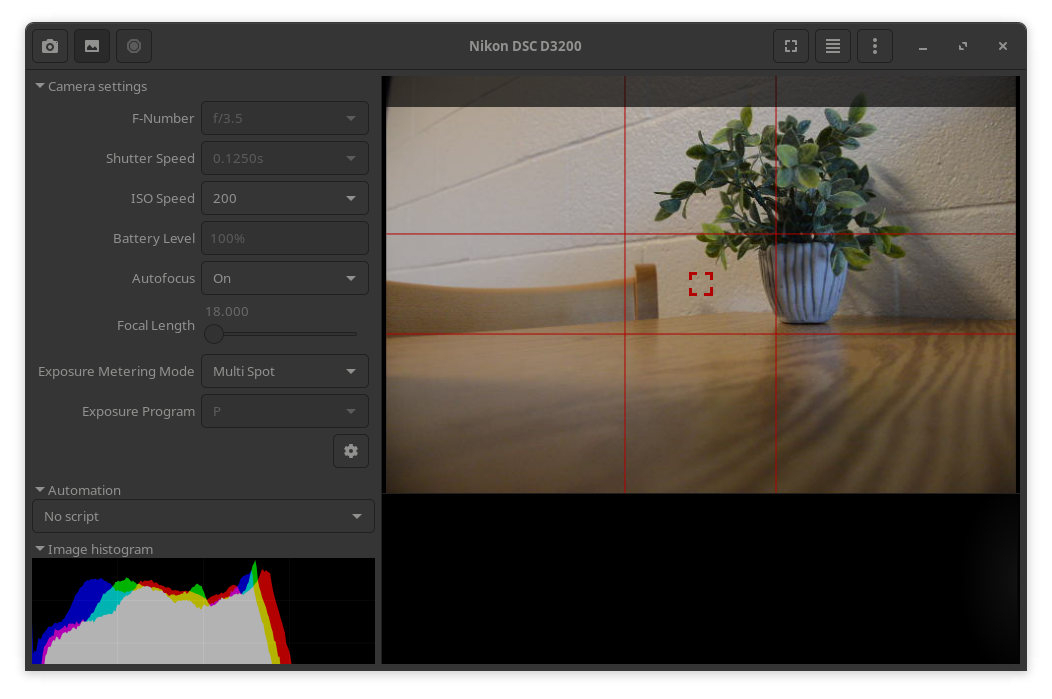 Entangle window. Note how the interface is simple and yet fully featured, with a histogram and direct access to all settings relevant to control your shot for a correct exposure.
Entangle is ridiculously simple to use: you just need to click on the continuous capture preview icon on the top left corner (your camera will probably be recognized automatically) and start shooting. Voila! Yes, it’s that easy. You can see all the control parameters on the left panel, called Camera settings.
Nice feature: Support for plugins
One of the nicest things about Entangle is its simplicity and modularity. The user can simply install (or write their own) plugins that perform custom tasks such as a digital intervalometer for time lapses, astrophotography stacking, or other applications. I personally used Entangle to capture the solar eclipse over the US in March 2024.
HDMI
Apart from fully controlling your camera through USB, another useful and interesting approach is taking advantage of the camera’s HDMI output. If you want to mirror your camera’s screen on a larger display, this is a fantastic way of doing it. It might be better suited for video or capture preview, while USB tethering might be more appropriate for actually shooting stills from your computer, even though both approaches can perform both tasks.
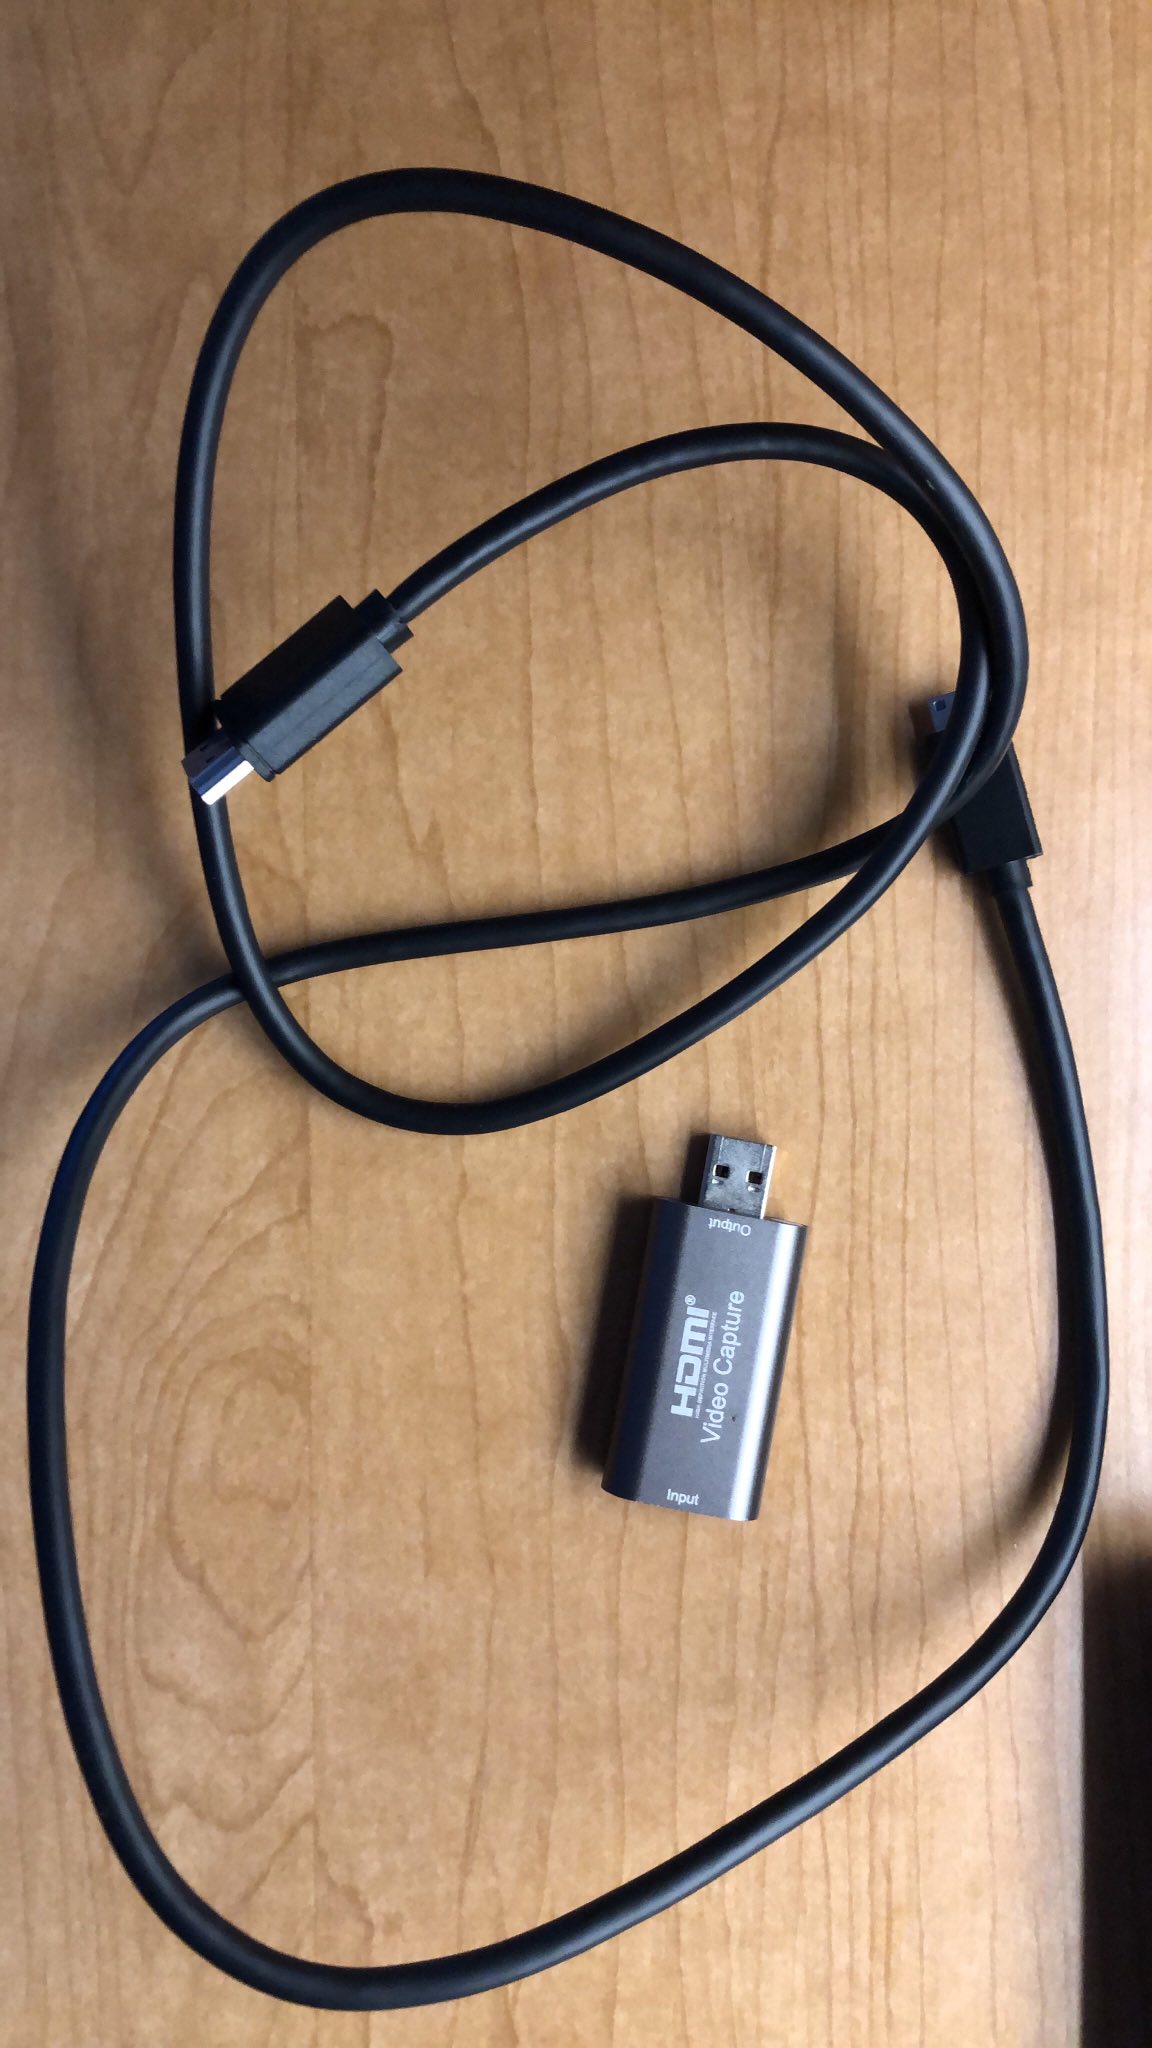 All you need for capturing your camera's HDMI output: an HDMI cable and a capture card (apart from the camera and the computer, of course!). In my case, I am using a mini-HDMI to HDMI cable (your camera might use the same port or a micro-HDMI) and a regular-HDMI to USB capture card.
There are many scenarios where connecting your camera to your computer through HDMI would be useful: if you are an educator, you can display your camera’s output on a big screen while it captures a macro shot, or maybe the camera is coupled to a microscope. You can show the camera settings screen or menu while teaching photography. Or maybe you are a professional in a studio and a director or your clients want to see the framing of your shots as you photograph your subject. The possibilities are endless.
Anyway, connecting a camera to the computer through HDMI allows us to leverage the camera’s live view capabilities to delegate some capturing tasks to the computer. Sometimes, this allows better video recording capabilities than using the camera’s built-in processor. For example, your camera might only be able to record at FHD 30 fps while it can output FHD 60 fps through HDMI. Thus, you can use a window capture software and store the video output directly to your computer.
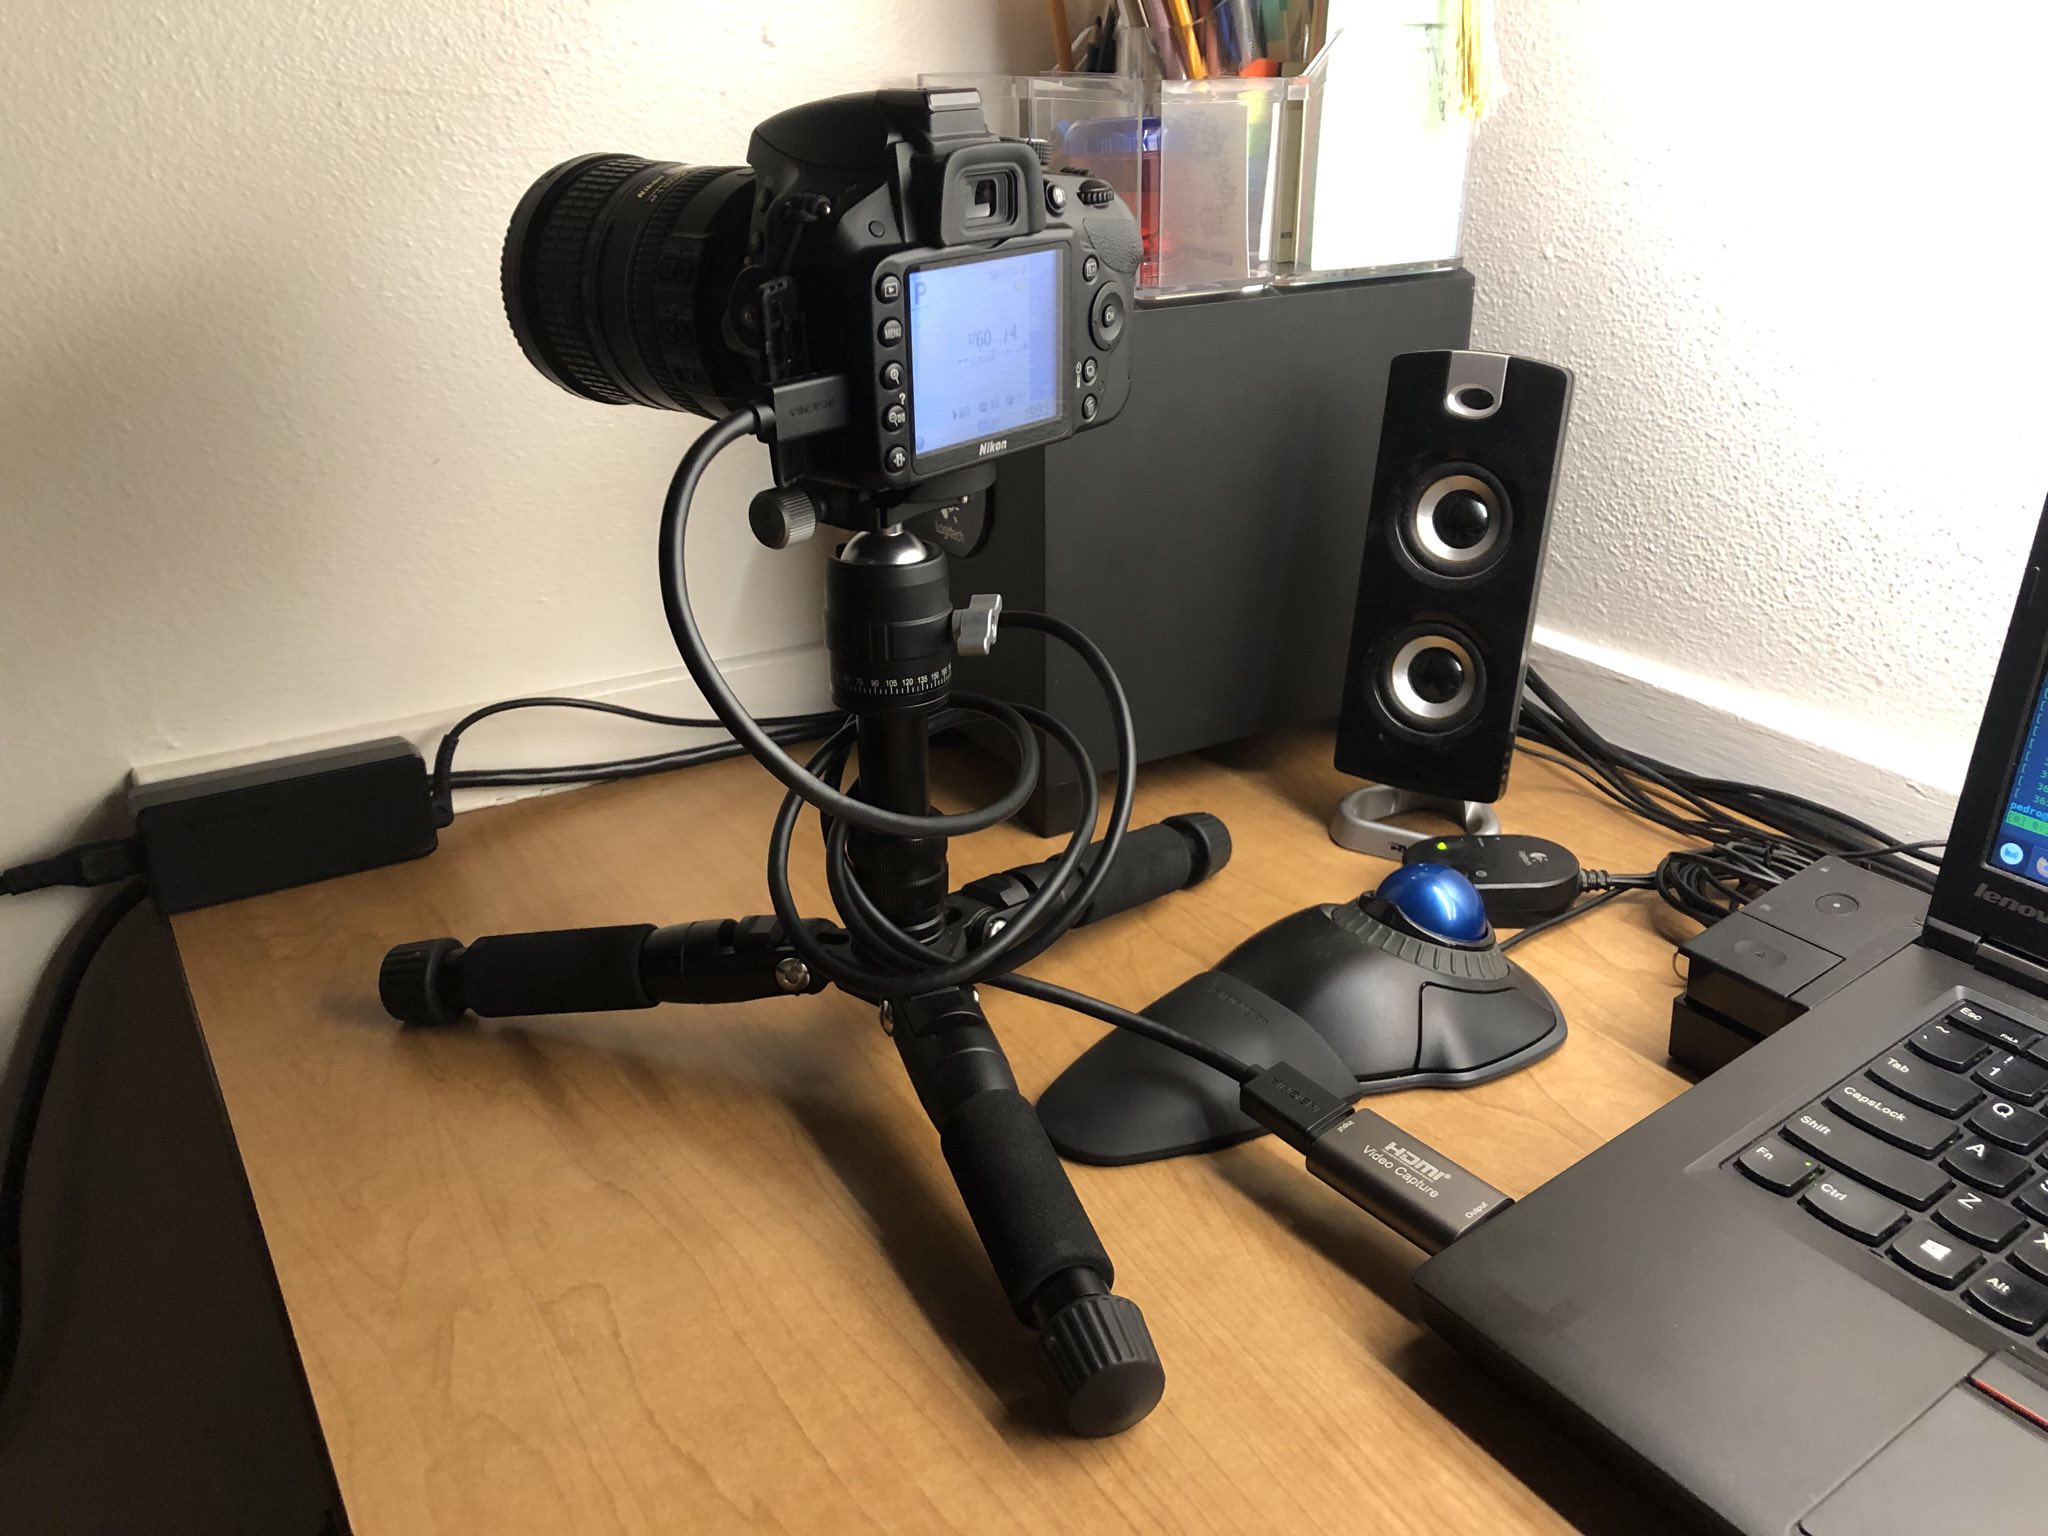 Full setup for direct HDMI capture from your computer. If your camera supports a clean HDMI output, that is a huge plus. See below for details.
There are two downsides of this method, however. One is that you need a capture card (which can be cheap yet work wonderfully well, but nonetheless you still need one). The other downside is that you will not be able to control the camera capture parameters from your computer, so you’ll need to rely on what has been preset on your camera.
Fortunately, USB-HDMI capture cards are fairly affordable nowadays. They are are small devices containing an HDMI port to be used as an input and then converted to USB output. Upon connecting the adapter to your computer, it will likely be recognized as a /dev/video* device (at least on reasonably modern Linux systems). After that, you can see the output through an appropriate software, such as VLC or obs-studio. Warning: You might need to have root privileges or be part of the video group for this method to work.
A note on clean HDMI output
To some people, a camera capable of outputting “clean” HDMI is a must to use any form of HDMI signal external capture. When people talk about “clean-HDMI”, they mean that a camera is capable of outputting through HDMI a signal containing only the image that is being detected by the sensor and nothing else. That way, you can manipulate the “clean” sensor signal on your computer or field recording monitor without any “visual pollution”. For example, two HDMI previews of the same camera with the same composition are shown below. One contains camera settings information and the live preview (not-clean HDMI), while the other consists of just the live preview itself (clean HDMI).
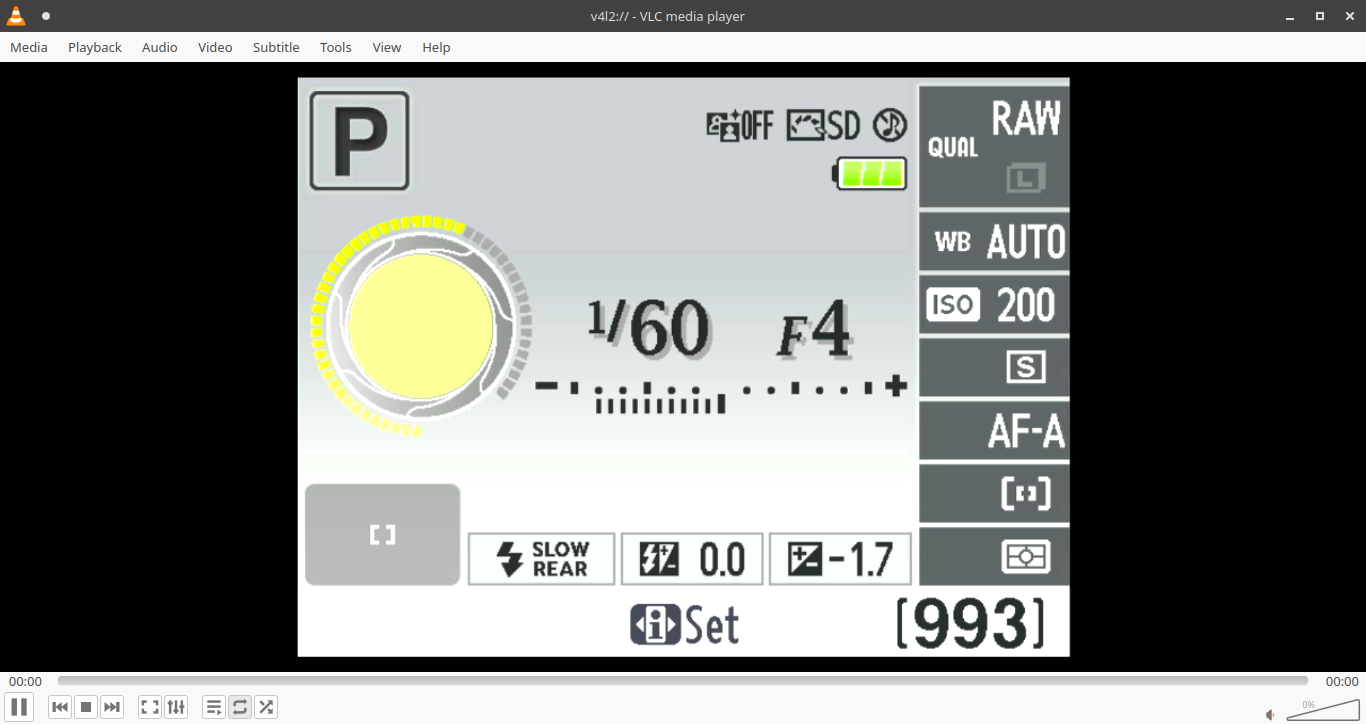
 "Not-clean" HDMI output. Useful for education and demonstration purposes. Not so great for capturing "clean" video externally on a capture device and saving videos directly on your computer or field monitor.
 Clean HDMI as seen by the computer: signal detected by the sensor and nothing else.
Check your camera’s manual to see if your gear is capable of outputting clean HDMI and how to enable it. On Nikon DSLRs (gear that I own), you can press the “info” button while in live-view mode to switch between different HDMI output modes.
VLC
VLC is arguably the best media player out there. If a media player can do something, VLC can do it better. It is possible to connect your camera to a capture card, which will be recognized as a video4linux2 device (/dev/video*) and then VLC is able to preview and capture its output.
To do it, just connect your USB capture card (or equivalent) to your computer, open VLC and click on:
- Media;
- Open capture device (Ctrl+c);
- Advanced options;
- On “Select video device”, enter something like
/dev/video2or/dev/video4./dev/video1is probably your integrated webcam; - Hit Play.
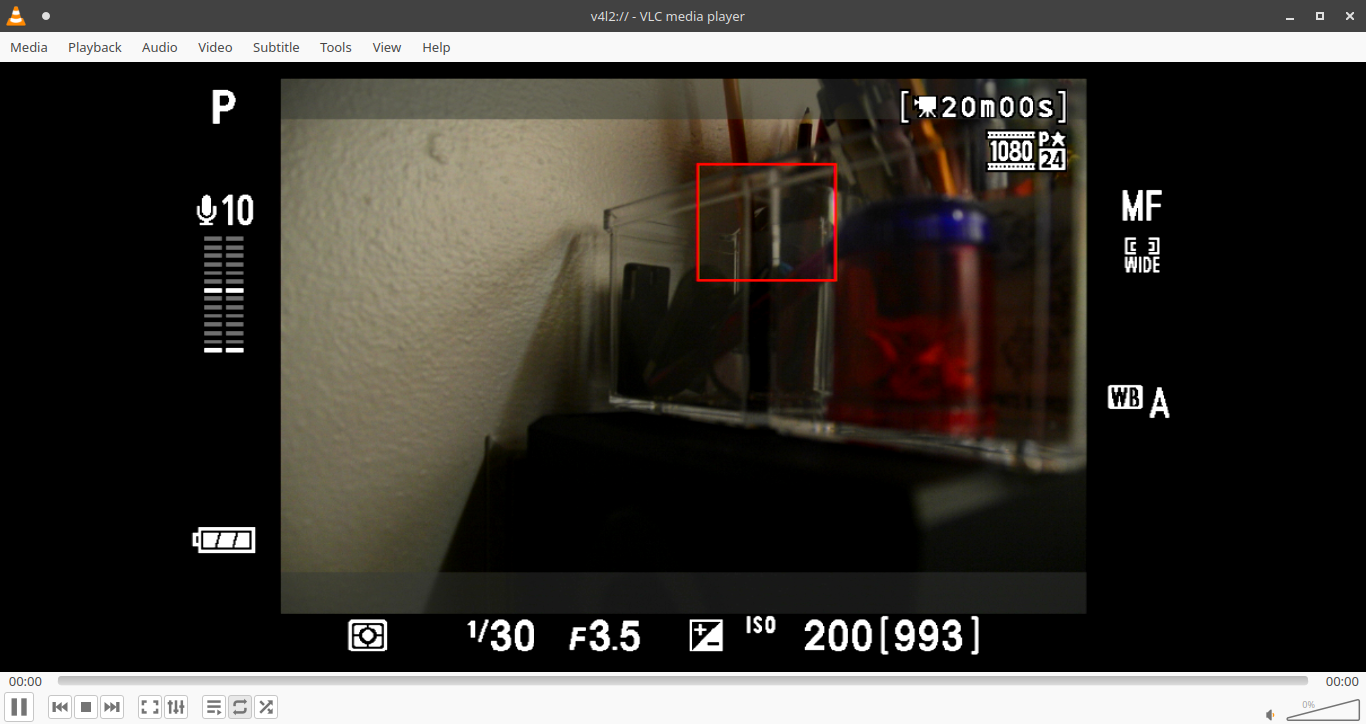
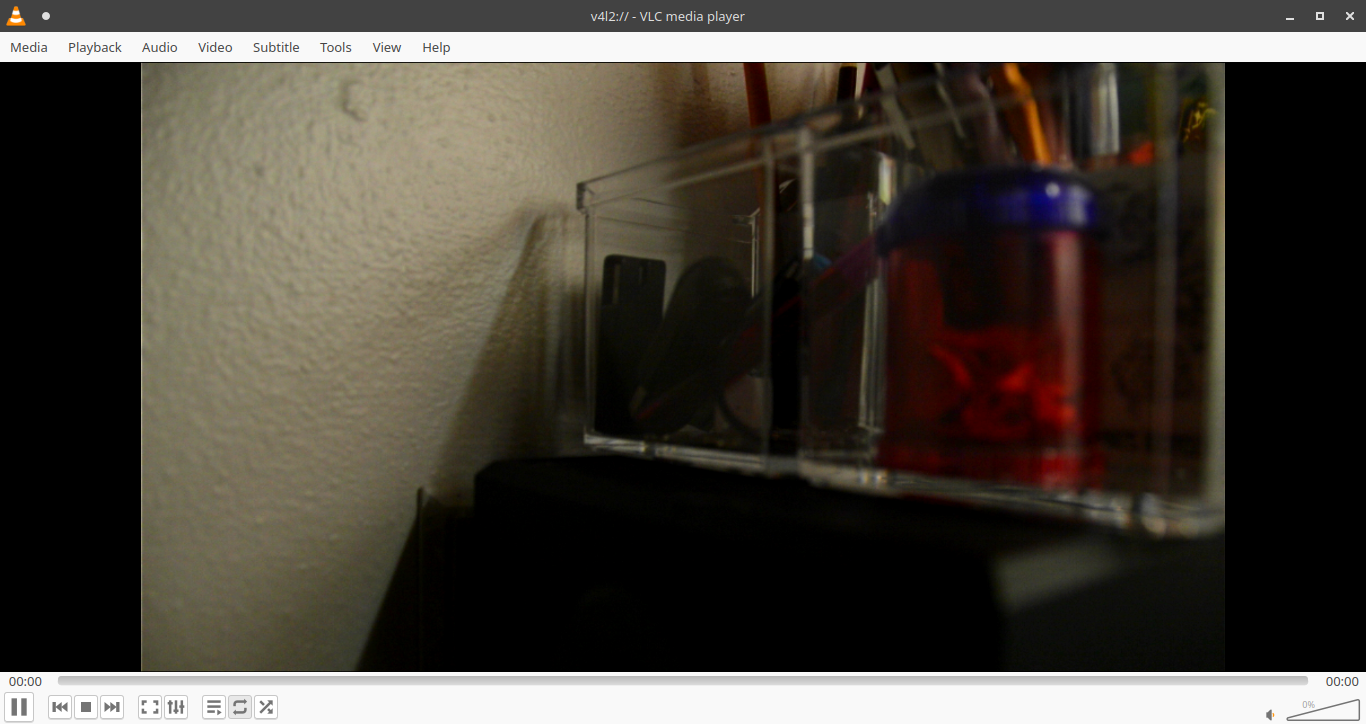
Now you will be able to see your camera’s HDMI output on VLC’s screen, as shown below.
 VLC displaying a camera's HDMI output. You can record it, use it as a large screen preview, or as a live presentation medium for spectators. Some cameras can cycle through "camera settings", "preview with settings", and "clean HDMI" outputs. See the section above for details.
OBS studio
OBS (open broadcast software) is the gold standard in video recording and live streaming. It is able to manage all sorts of audio and video capture that are available to the machine. It is capable of recording and combining the inputs of window screens, webcams, USB cameras, IP cameras, microphones and instruments; manipulate the input in layers and finally output the end result to a file or broadcast to a live stream. OBS is truly an amazing software.
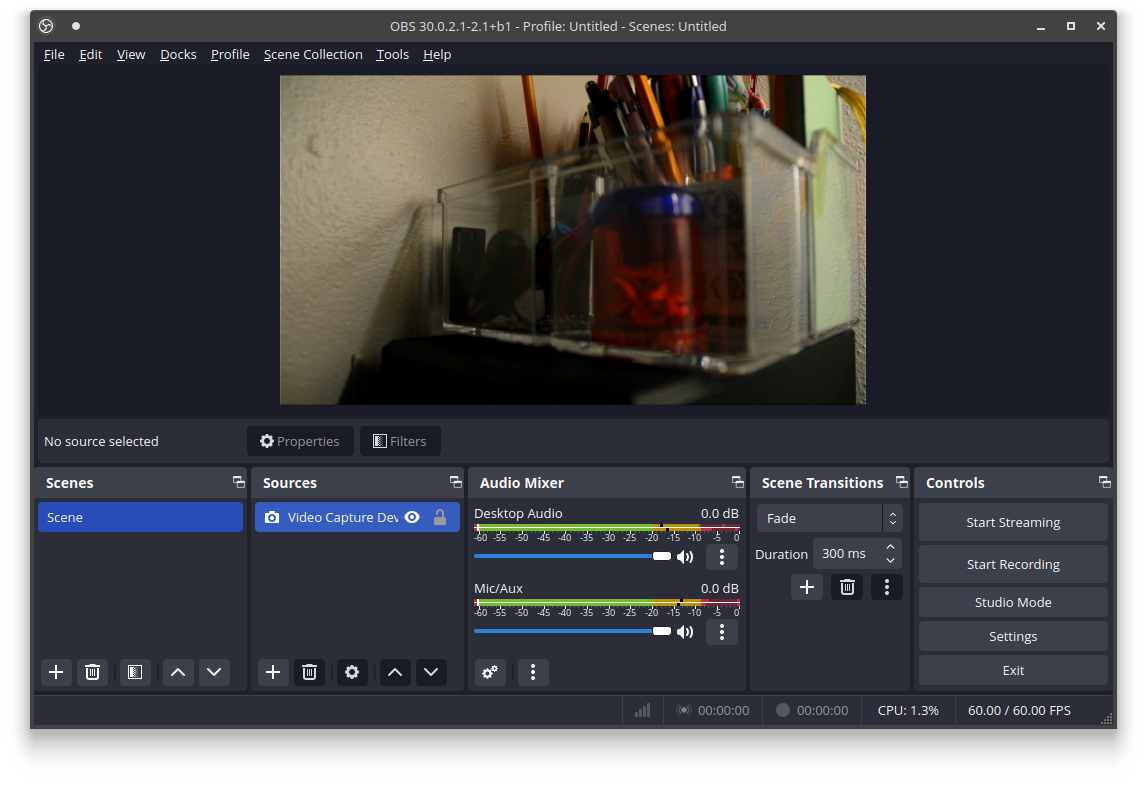 OBS, a fully featured video broadcasting suite capable of handling V4L2 USB capture cards and converting them into useful signal for your computer.
To capture using OBS is very simple. Just follow the steps below:
- Look under the sources panel;
- Click on the plus icon;
- Choose video capture device (V4L2);
- Pick USB video (or equivalent) and accept. Note that you can set things like hue, saturation, brightness, contrast, etc. This can be a great feature for live streaming.
Nice feature: Video compositing capabilities
One of the coolest features of OBS is to make compositions using different video and audio sources (window capture, webcam, external camera, etc) and output them to a single stream of video data. For example, you can record a slide presentation and your webcam’s signal simultaneously, merge the outputs together by overlaying your face on the slide background and save it to a video. Below, I illustrate my point by showing my camera’s HDMI output on top of a Firefox window.
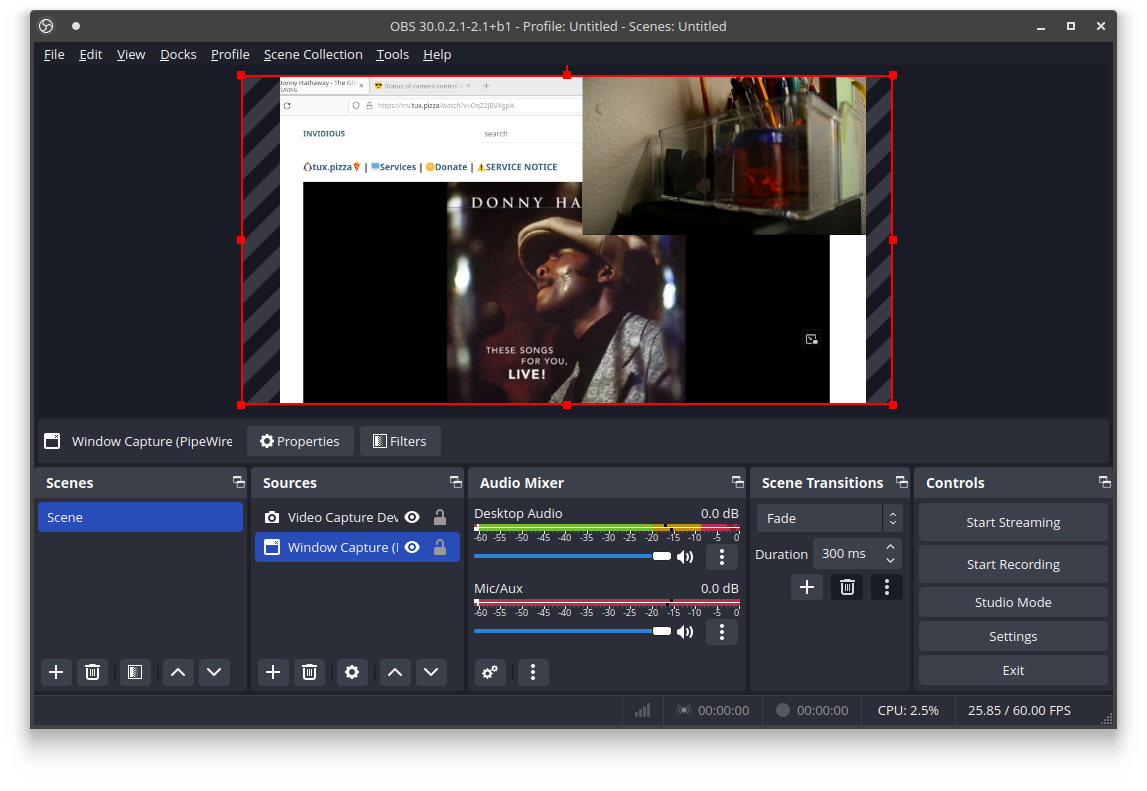 OBS boasts amazing composition capabilities. The user can combine inputs from webcams, IP cameras, DSLRs, TV boxes, operating system graphics, etc and arrange them as desired. The possibilities are endless.
Bonus: using a phone as a field monitor
If you own a phone or compact tablet with a USB-C port and support for USB on-the-go (OTG), you can use it as a field monitor. You can do it through USB tethered shooting or capturing the HDMI signal using a capture card. In both cases, you will need to use a USB-C to USB-A OTG adapter and install software that can handle that form of communication.
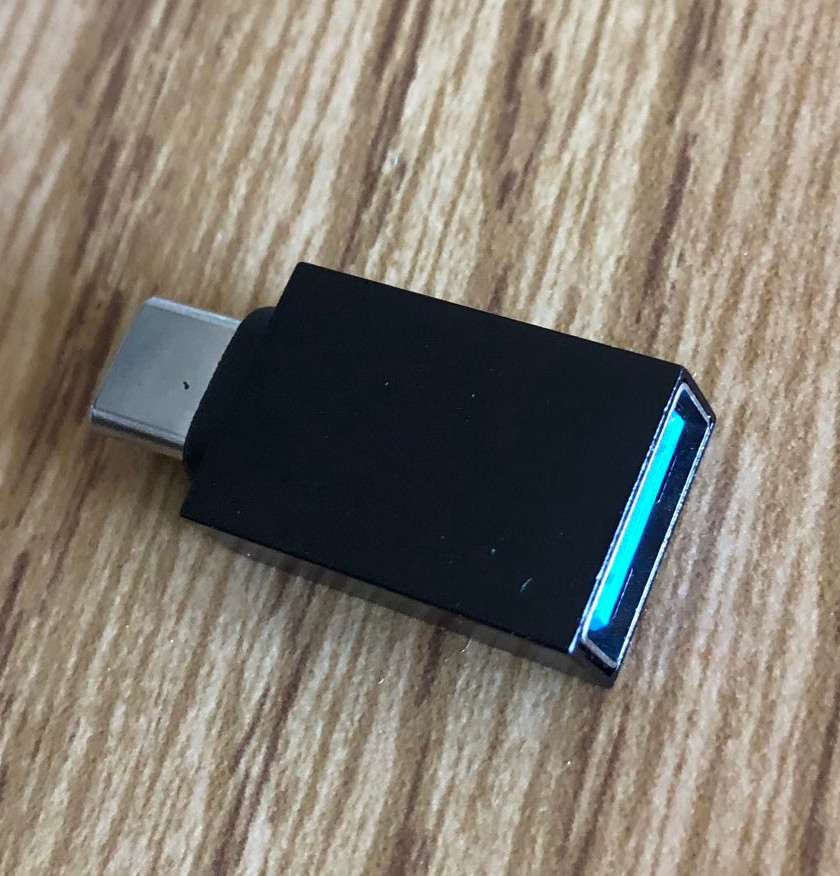 USB-C to USB-A adapter, all extra gear you need to use your phone as a field monitor.
If you own a Linux phone or tablet, you can use the same software I described above. For proprietary operating systems, this is also easily achievable, but I unfortunately can’t recommend any specific apps for the task.
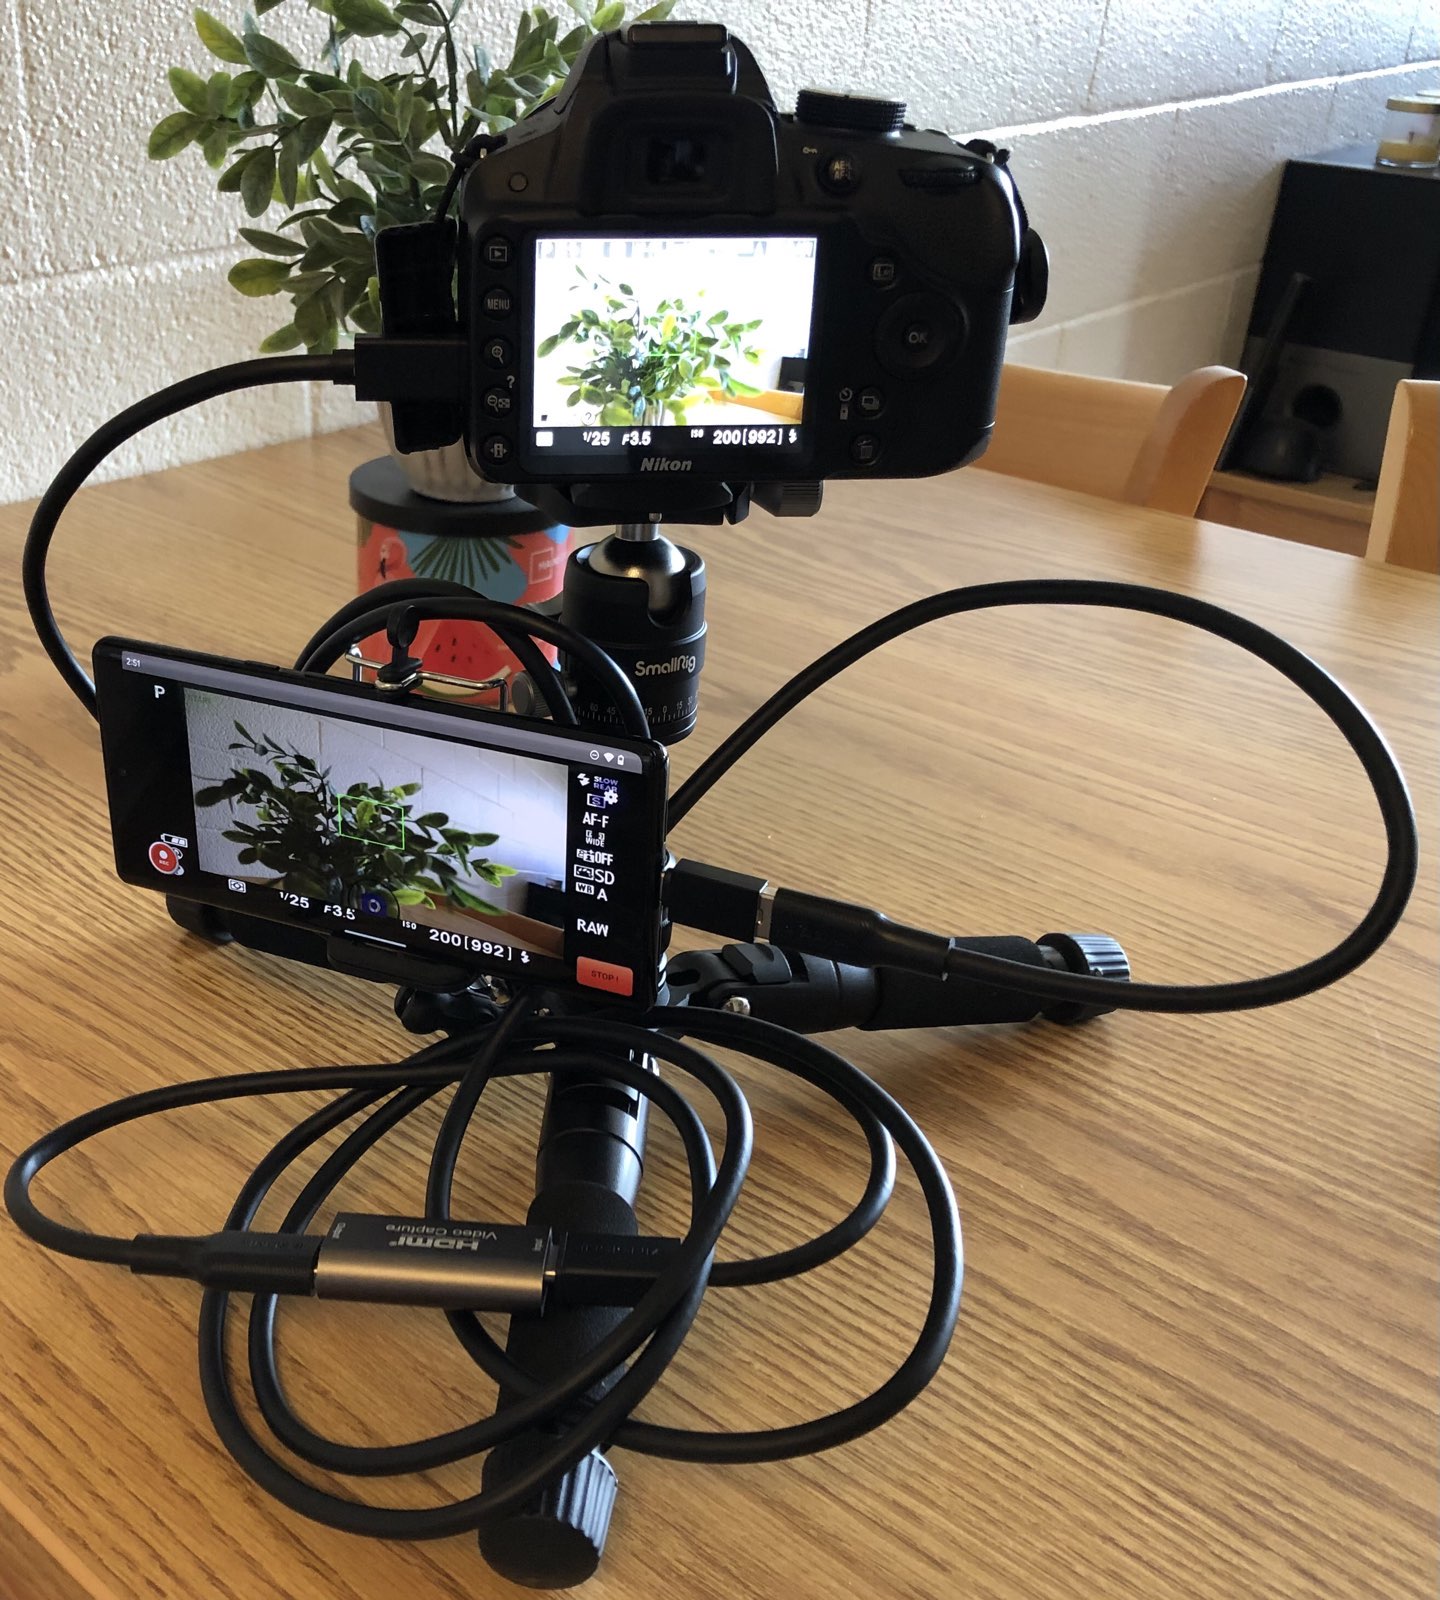 Phone as a field monitor. A fun "hack" to avoid spending a small fortune on dedicated equipment but using an equally capable setup. Bonus points if you have adapters and mounts to make it portable.
Useful links and references
Check out the links below if you want to learn more about the subject.