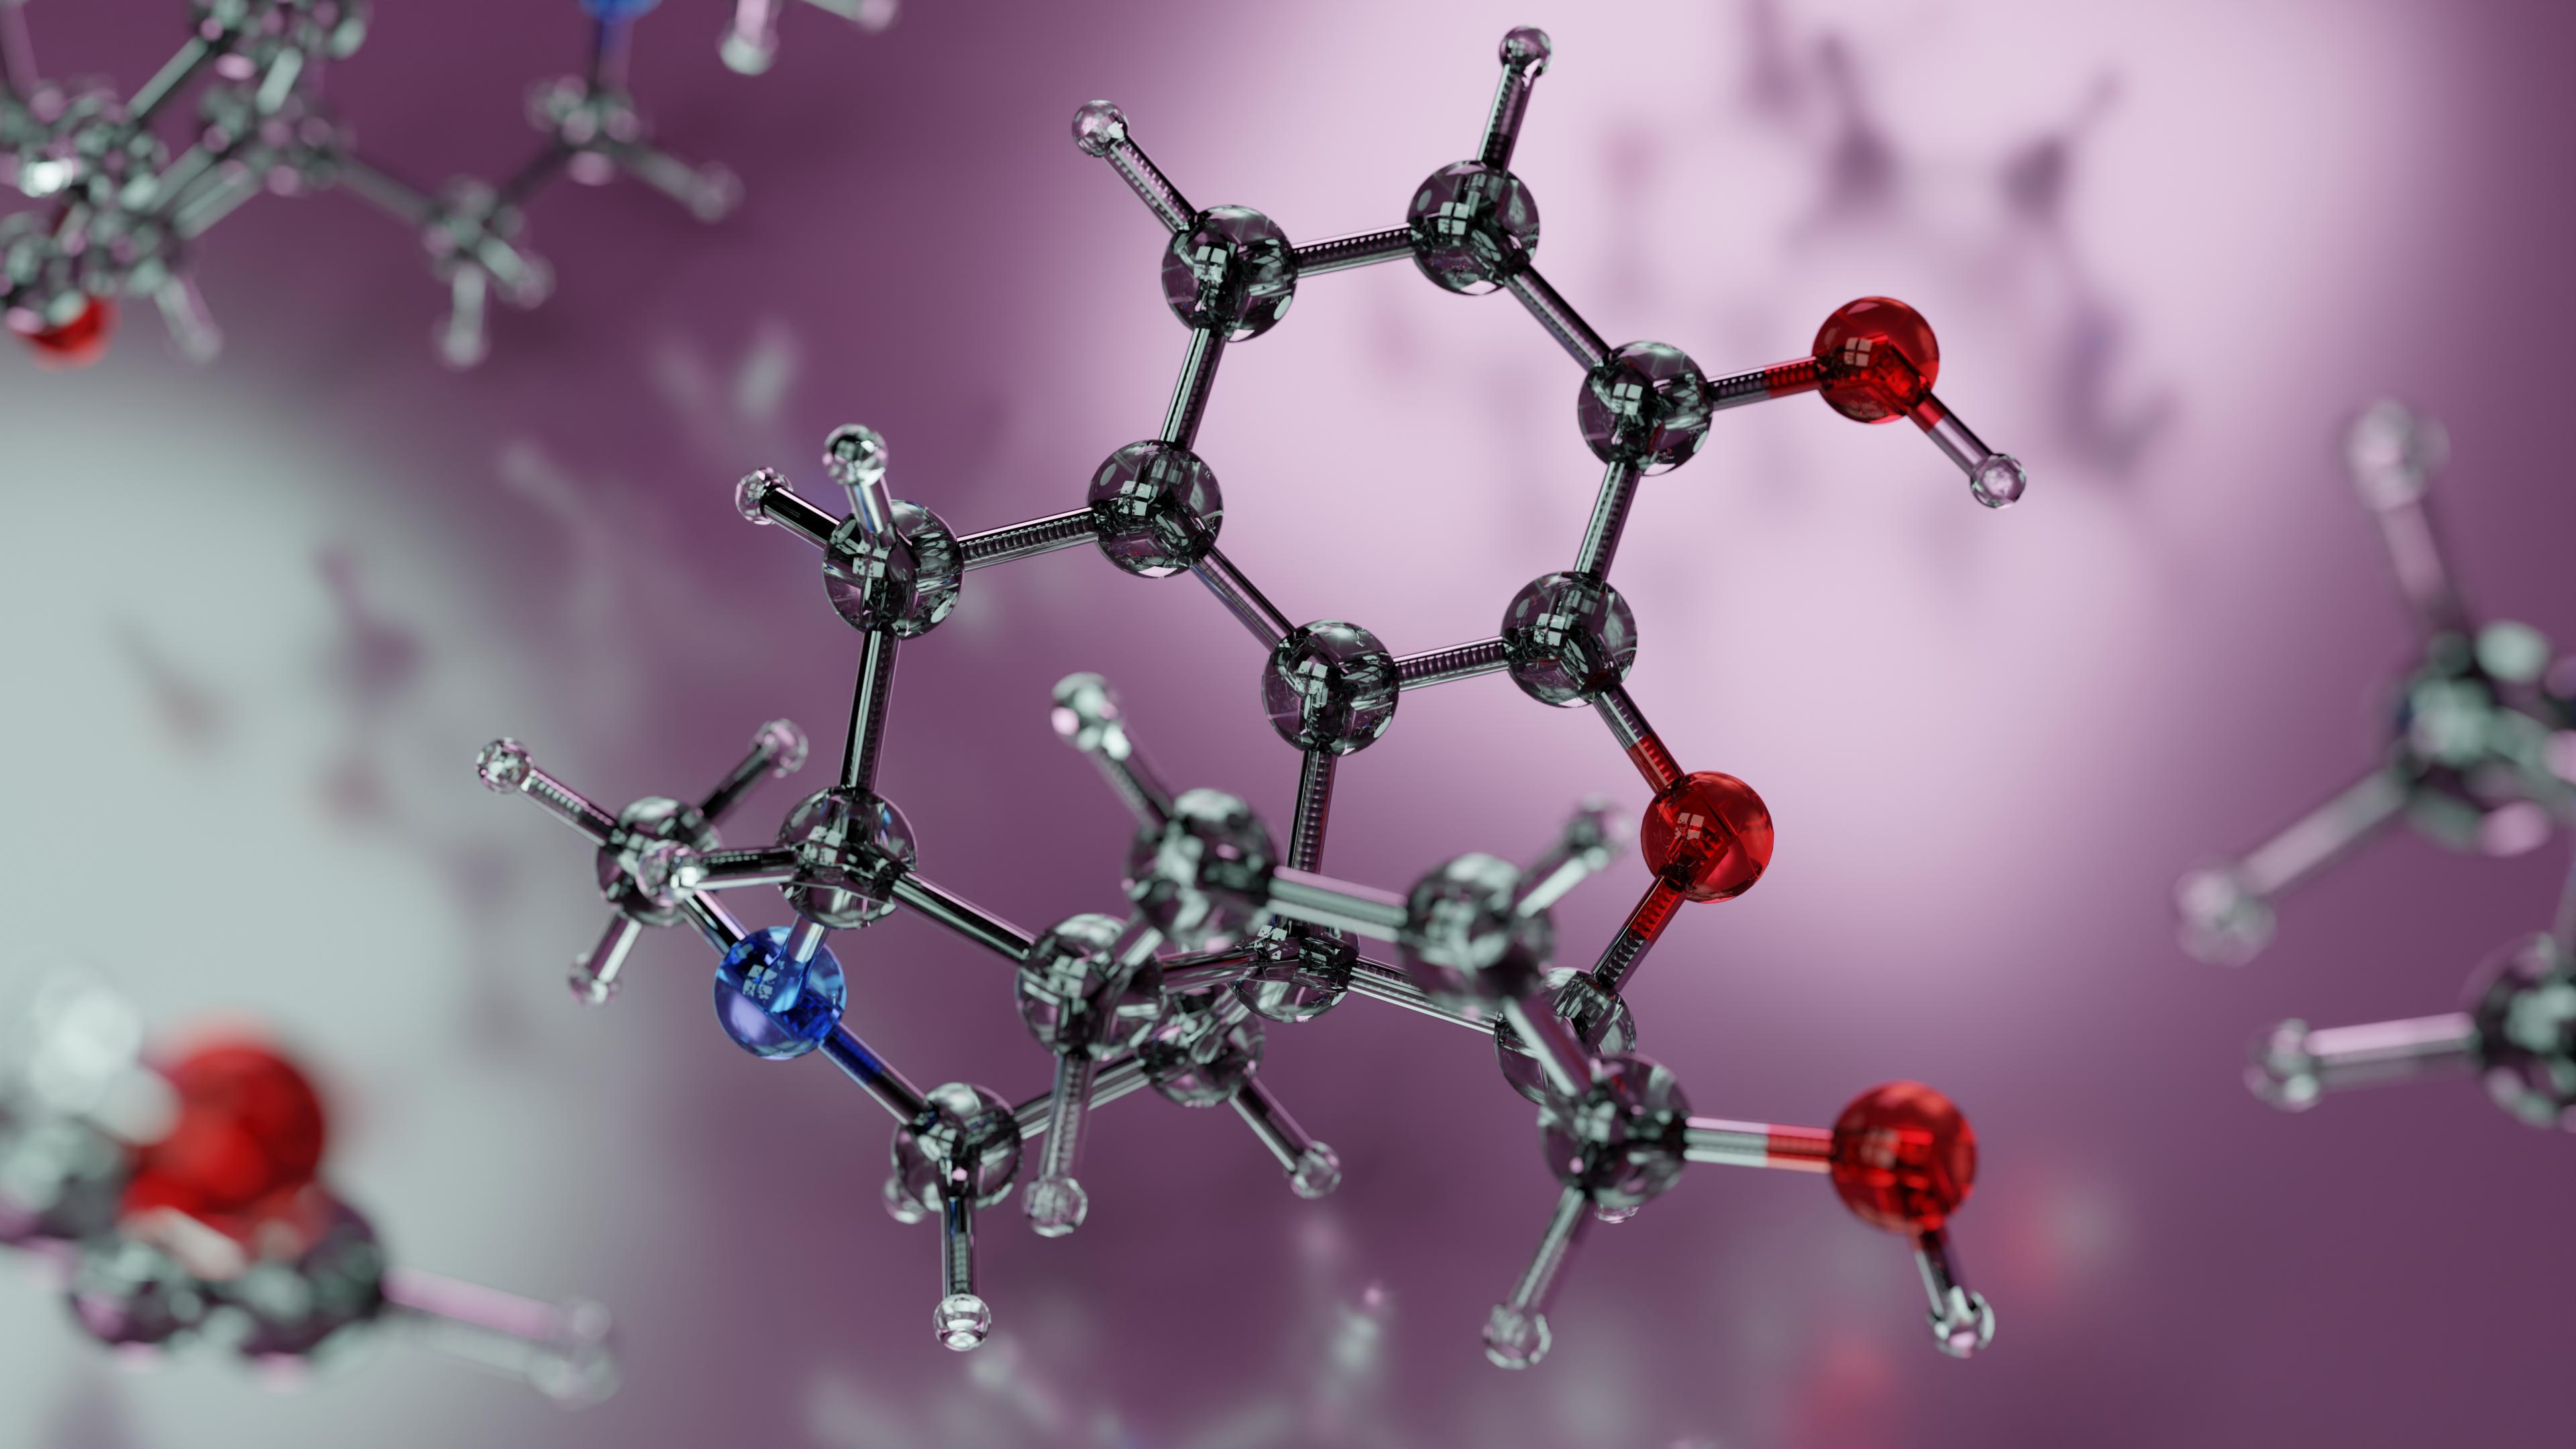
In this short tutorial, I will be showing how to render beautiful molecular visualizations (like the image below) for your presentation, website, journal cover, or just a custom artistic wallpaper using two very powerful tools, Blender and Avogadro.
Installing dependencies (Avogadro)
Basically, for this project we will need Avogadro and Blender, which are two software with a very simple installation process. To optimize structures, we will need Open Babel.
Debian-based (Debian, Ubuntu, Mint)
(Click to expand)
On Debian, the command below will install Avogadro2 and its dependencies, as well as Open Babel. It’s truly straightforward.
sudo apt install avogadro openbabel
Debian is adopting PEP 668 – Marking Python base environments as ``externally managed’’.
python3 -m venv .venv
source .venv/bin/activate
Arch-based (Arch, Manjaro)
(Click to expand)
To get openbabel, simply type
sudo pacman -Sy openbabel
But as of today, Avogadro is not available through the official Arch repositories, so you might have to install it from source, using a third party package manager like flatpak, or through the AUR. The instructions if you’re using flatpak are detailed below, while here I will explain how to get it through the AUR.
(App image)
git clone https://aur.archlinux.org/avogadro2-appimage.git
cd avogadro2-appimage
makepkg -Si
makepkg -si
(Upstream git)
git clone https://aur.archlinux.org/avogadroapp.git
cd avogadro2-appimage
makepkg -Si
makepkg -si
Fedora-based (Fedora)
(Click to expand)
sudo rpm install avogadro2 openbabel
Flatpak
(Click to expand)
sudo flatpak install flathub org.openchemistry.Avogadro2
AppImages from GitHub or building from source.
(Click to expand)
The official OpenChemistry GitHub repository for avogadro provides nightly AppImage builds that you can download straight through your browser. Alternatively, they provide detailed instructions on how to build it from souce here.
Comment about Blender
I recommend using Blender AppImage instead of installing it from some distribution repository. I am generally in favor of using your own distro’s repositories whenever possible, with a few exceptions. Generally, software that is being constantly updated will tend to have compatibility issues when opening your project files across machines with different versions installed. Usually, this is not a big deal, but since Blender is so complex to the point where you will be looking up tutorials all the time and its community is so active, it’s good to have an updated version so you can follow current trends.
You can download the AppImage directly from Blender’s website (https://www.blender.org/download/).
After installing Blender, we will need the Atomic Blender addon. You can get it by clicking on Edit, Preferences, Add-ons, search for “Atomic Blender”, then click install. After this, you can close the window. Now, after going to File, Import, a “Protein Data Bank (.pdb)” option will be available. Click on it, and a new pop-up window will appear, where you can import pdb files.
Building molecular structure, from a database or building manually
If you can get your molecular structure from a database such as PubChem, or simply have a SMILES or International Chemical Identifier (InChI) code, you can build it to Avogadro in a straightforward way. On Avogadro’s main screen, simply click Build, Insert, then the format that you want to import. A pop-up window will appear, where you can paste the molecule identifier, and click OK.
A new pop-up window “Building the Molecule” with a loading bar will show up. When loading is complete, you will see the 3D structure your molecule.
For example, I went to the Wikipedia page for morphine (a beautiful, small yet complex molecule, presenting non-planar rings and chiral centers) and got it’s SMILES code, which is CN1CC[C@]23C4=C5C=CC(O)=C4O[C@H]2[C@@H](O)C=C[C@H]3[C@H]1C5, and followed the instructions above.
Alternatively, you can simply add atoms and bonds one by one. This might be better for simple compounds, but cumbersome for more complicated structures.
Optimizing structures
After you have your molecular structure, click Extensions -> OpenBabel -> Optimize Geometry (Ctrl+Alt+O), and your structure will optimized, using a mathematical model to calculate the separation and angles between atoms and bonds.
Importing structure to Blender
After you are happy with your geometry optimization, export your molecule with File -> Export -> Molecule, and save it with a .pdb extension.
Now you can open Blender, and under File -> Import Protein Databank (.pdb), find your .pdb file. You will notice that your molecule will appear as imported. Now it’s time to use your creativity to add shaders, lights, a nice background to your render, and play with camera angles.
Shaders, lighting, background, camera
For this specific render, I will follow a safe procedure that I came up with when I first started rendering molecules, consisting of:
- Setting the materials of the atoms/bonds to a glass shader;
- Adding a base, “floor” plane, shaded as a slightly glossy, reflective material;
- Inserting two or three light sources, preferably of an interesting shape;
- Duplicating the molecule around the scene to create interesting reflections and a catching background;
- Set camera’s position and a depth of field to create a more artistic effect.